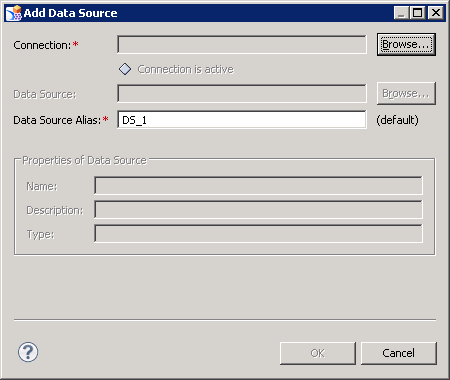
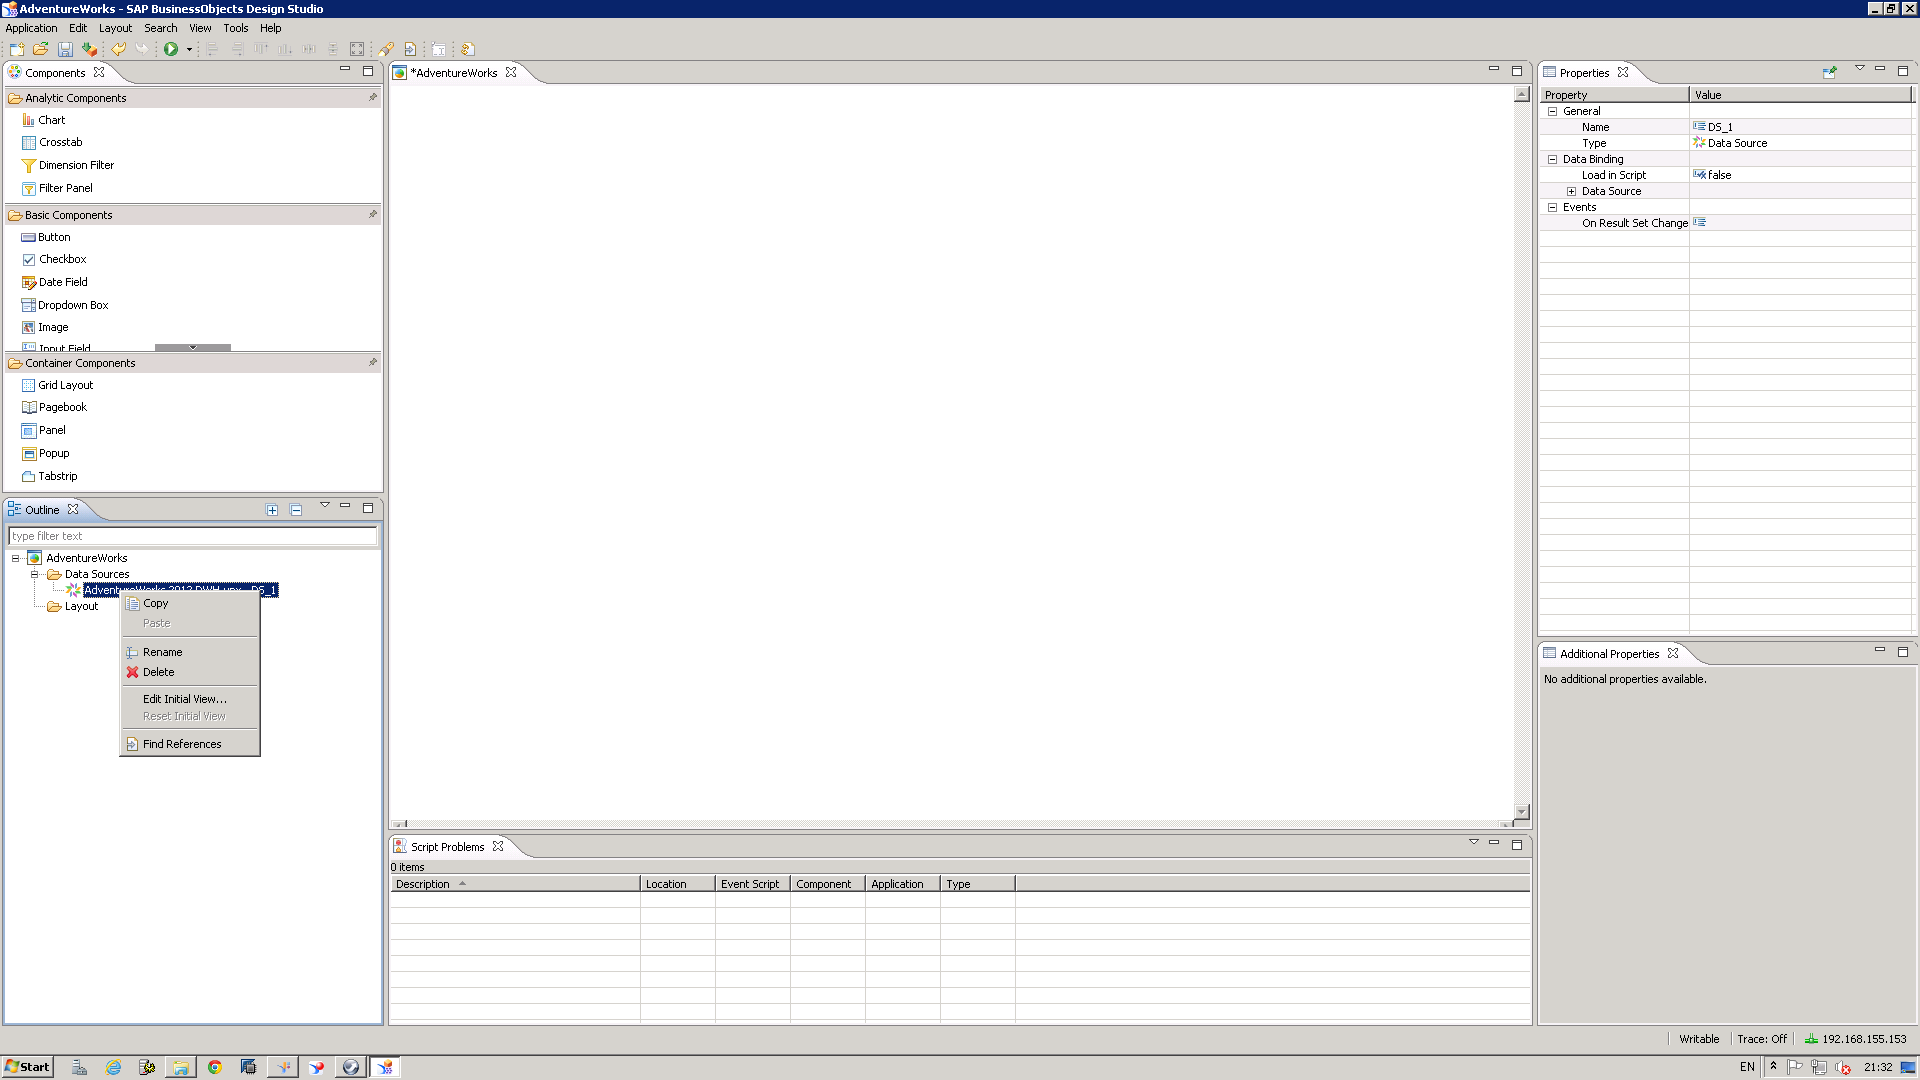
Adding a universe data source starts with the usual “Add Data Source” window. You simply click on the browse button to get to the connections.
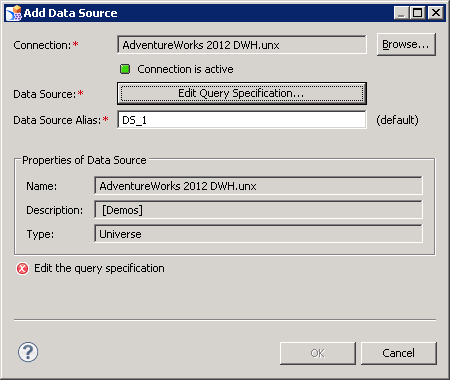
Beside the connections, we now also see the universes that can be used as a data source. Note that only single source universes can be consumed by Design Studio.

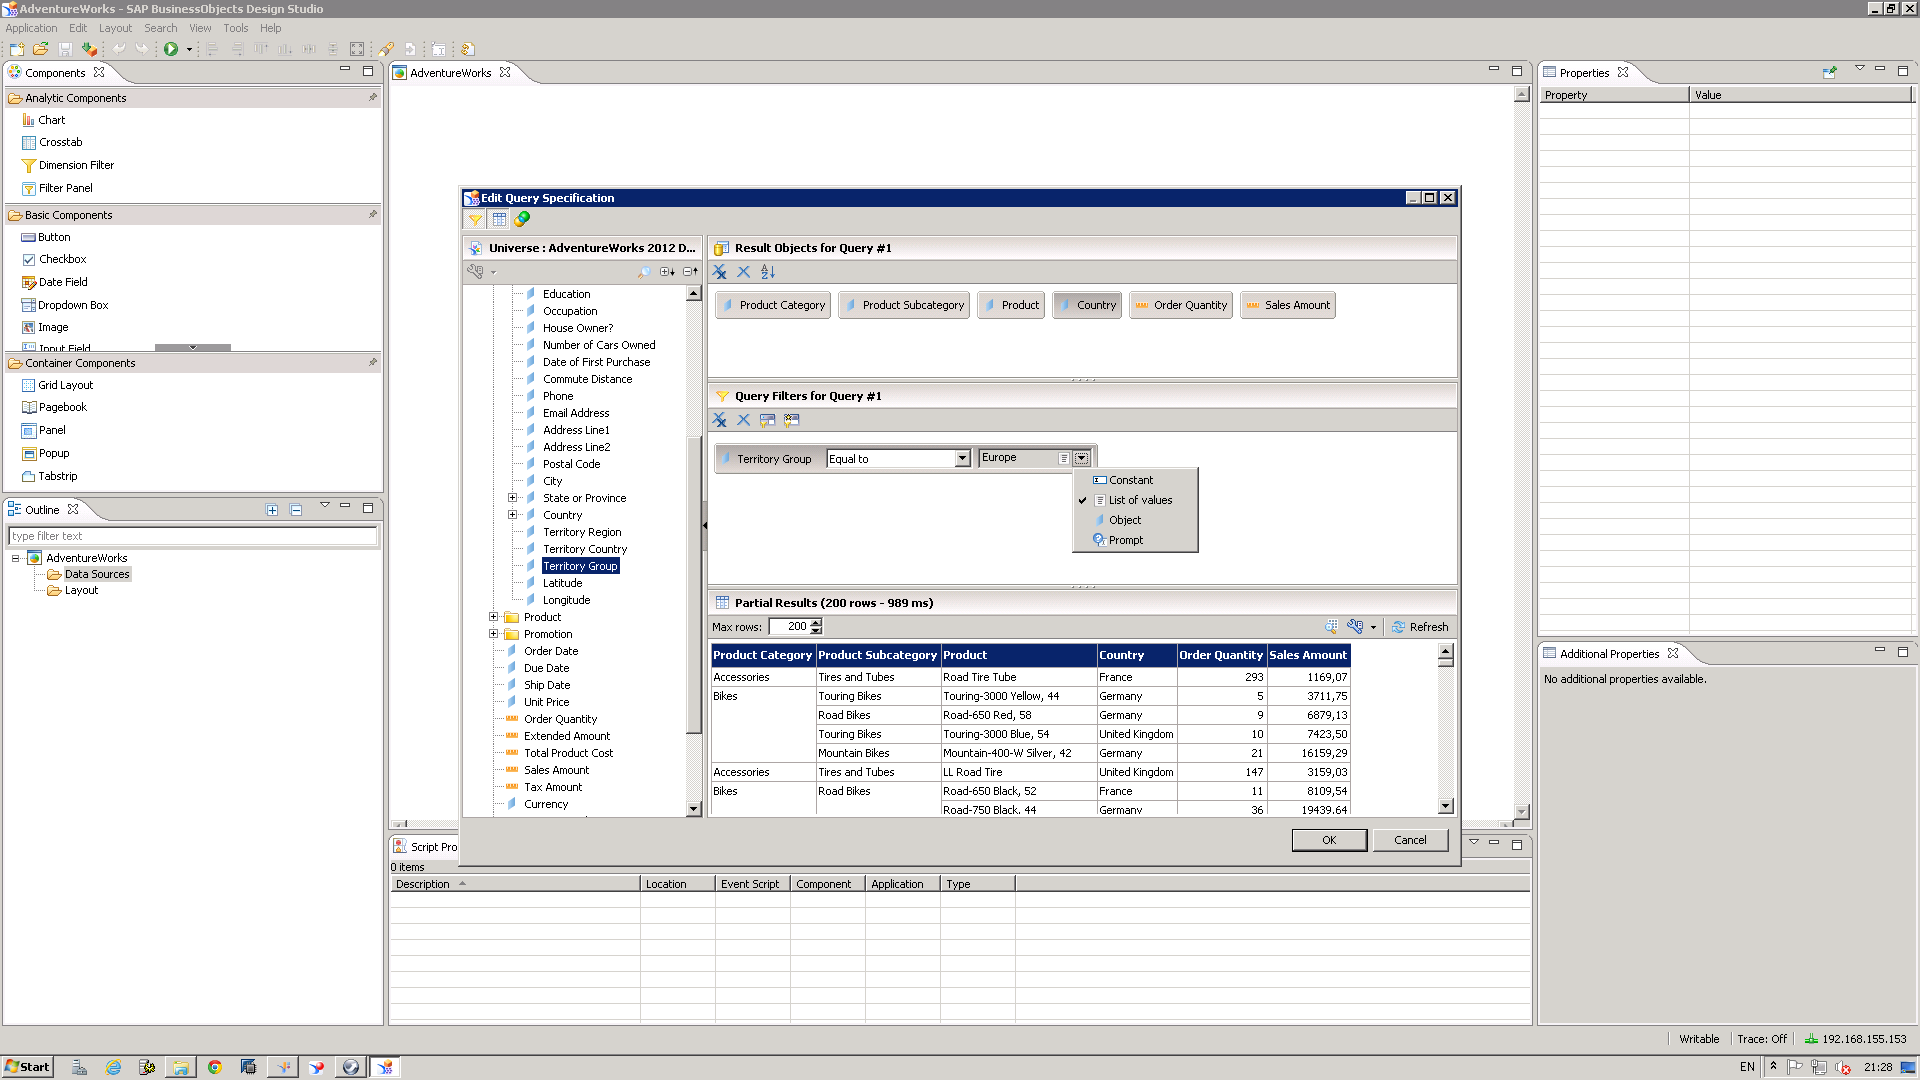
When we select the AdventureWorks universe, we still have to click on “Edit Query Specification”. In HANA or BW sources, we would have to choose a View or BEx query. However, as universes’ sources are relational in nature, we have to make our own initial selection from the query.
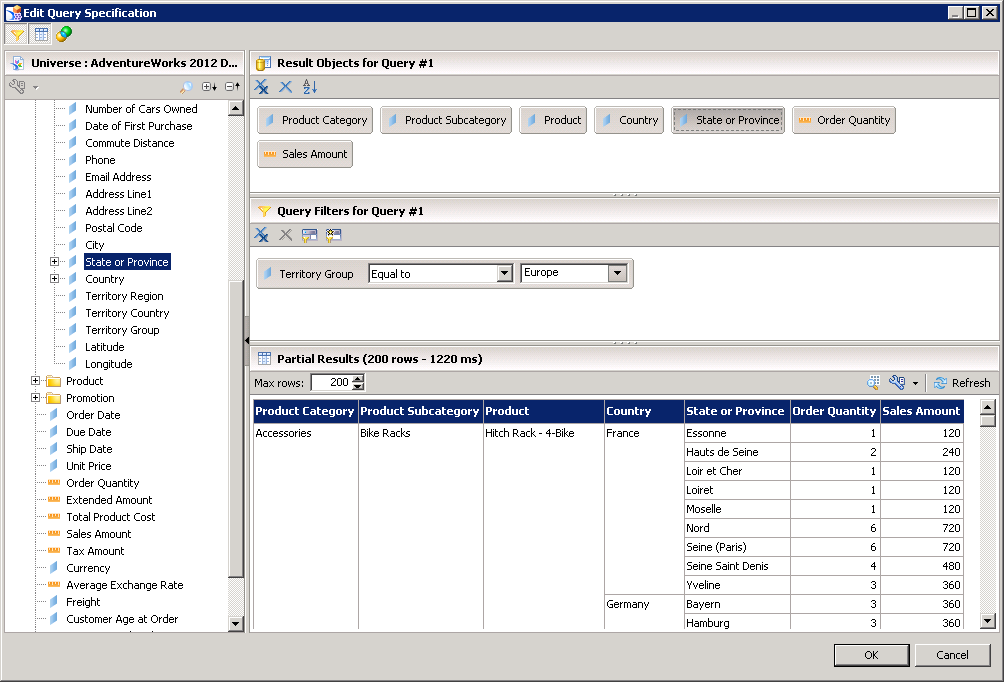
And this is where the familiar query panel pops up. We can create our own query by selecting the appropriate dimensions and measures, and utilising filters as we would do in a WebI document or dashboard.
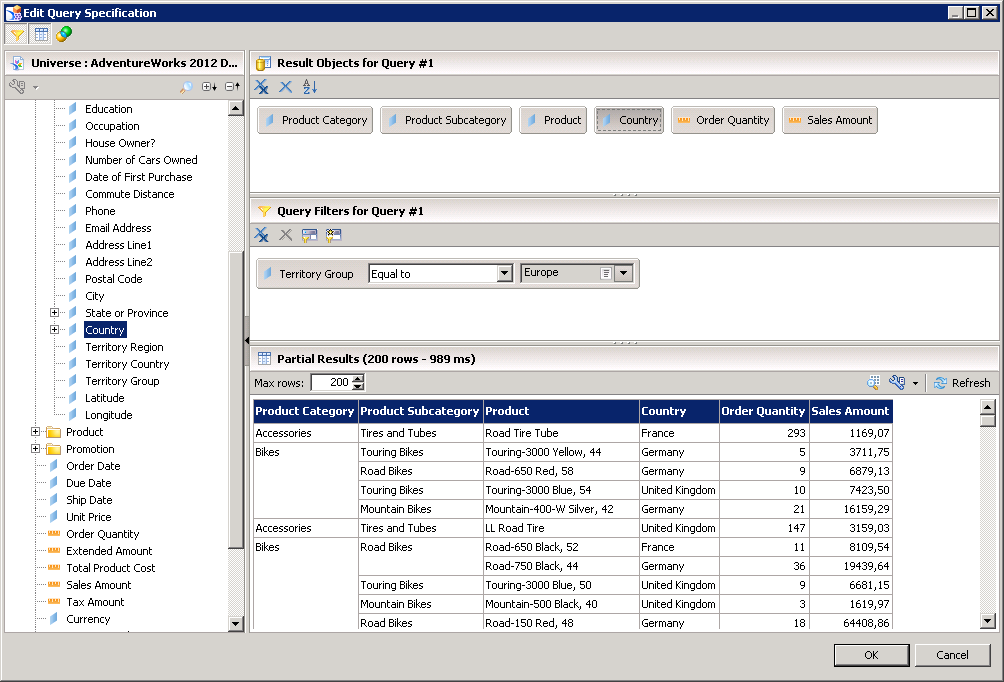
The preview pane allows us to check the validity of the result set before we apply the selection.
The list of values functionality works fine here, fortunately.
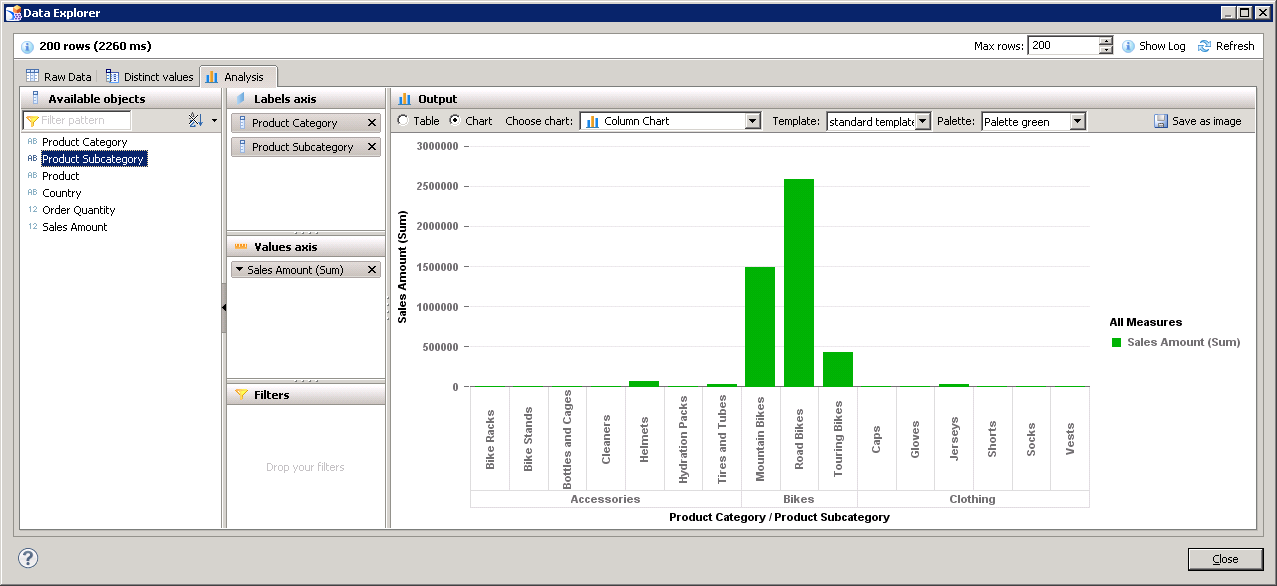
A nice feature in the query panel is the Data Explorer. This has been introduced before in IDT and HANA Studio and is apparently expanded to the front-end tools as well. With this window, you can explore dynamically through the data set to tune the query selection.
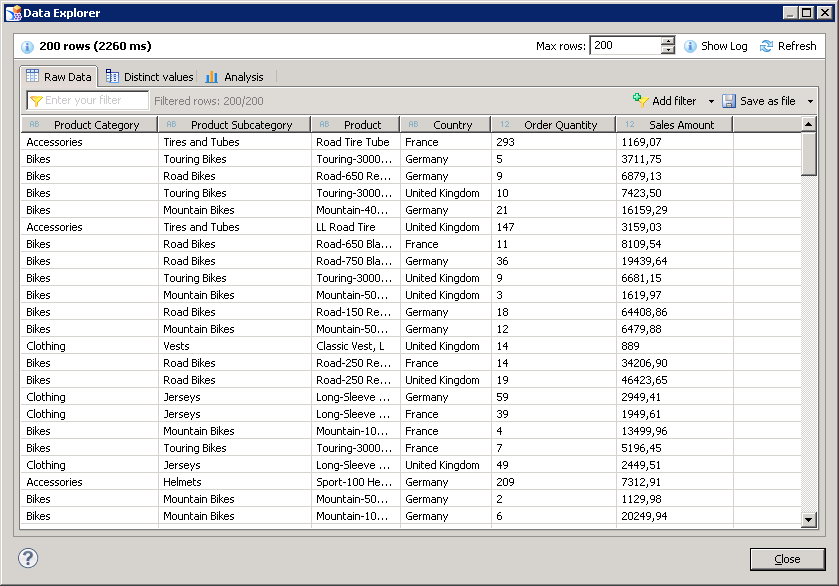
Beside showing data in tables, it has graphical capabilities. Data profiling is a one-click interface.
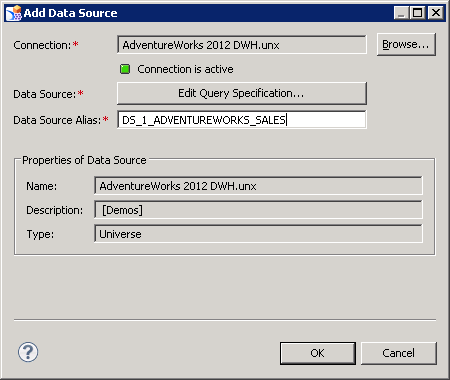
Now we are confident enough that the query selection makes sense, so let’s save it. We get to the familiar “Add Data Source ” screen. Now, the OK button is clickable, so we make use of that.
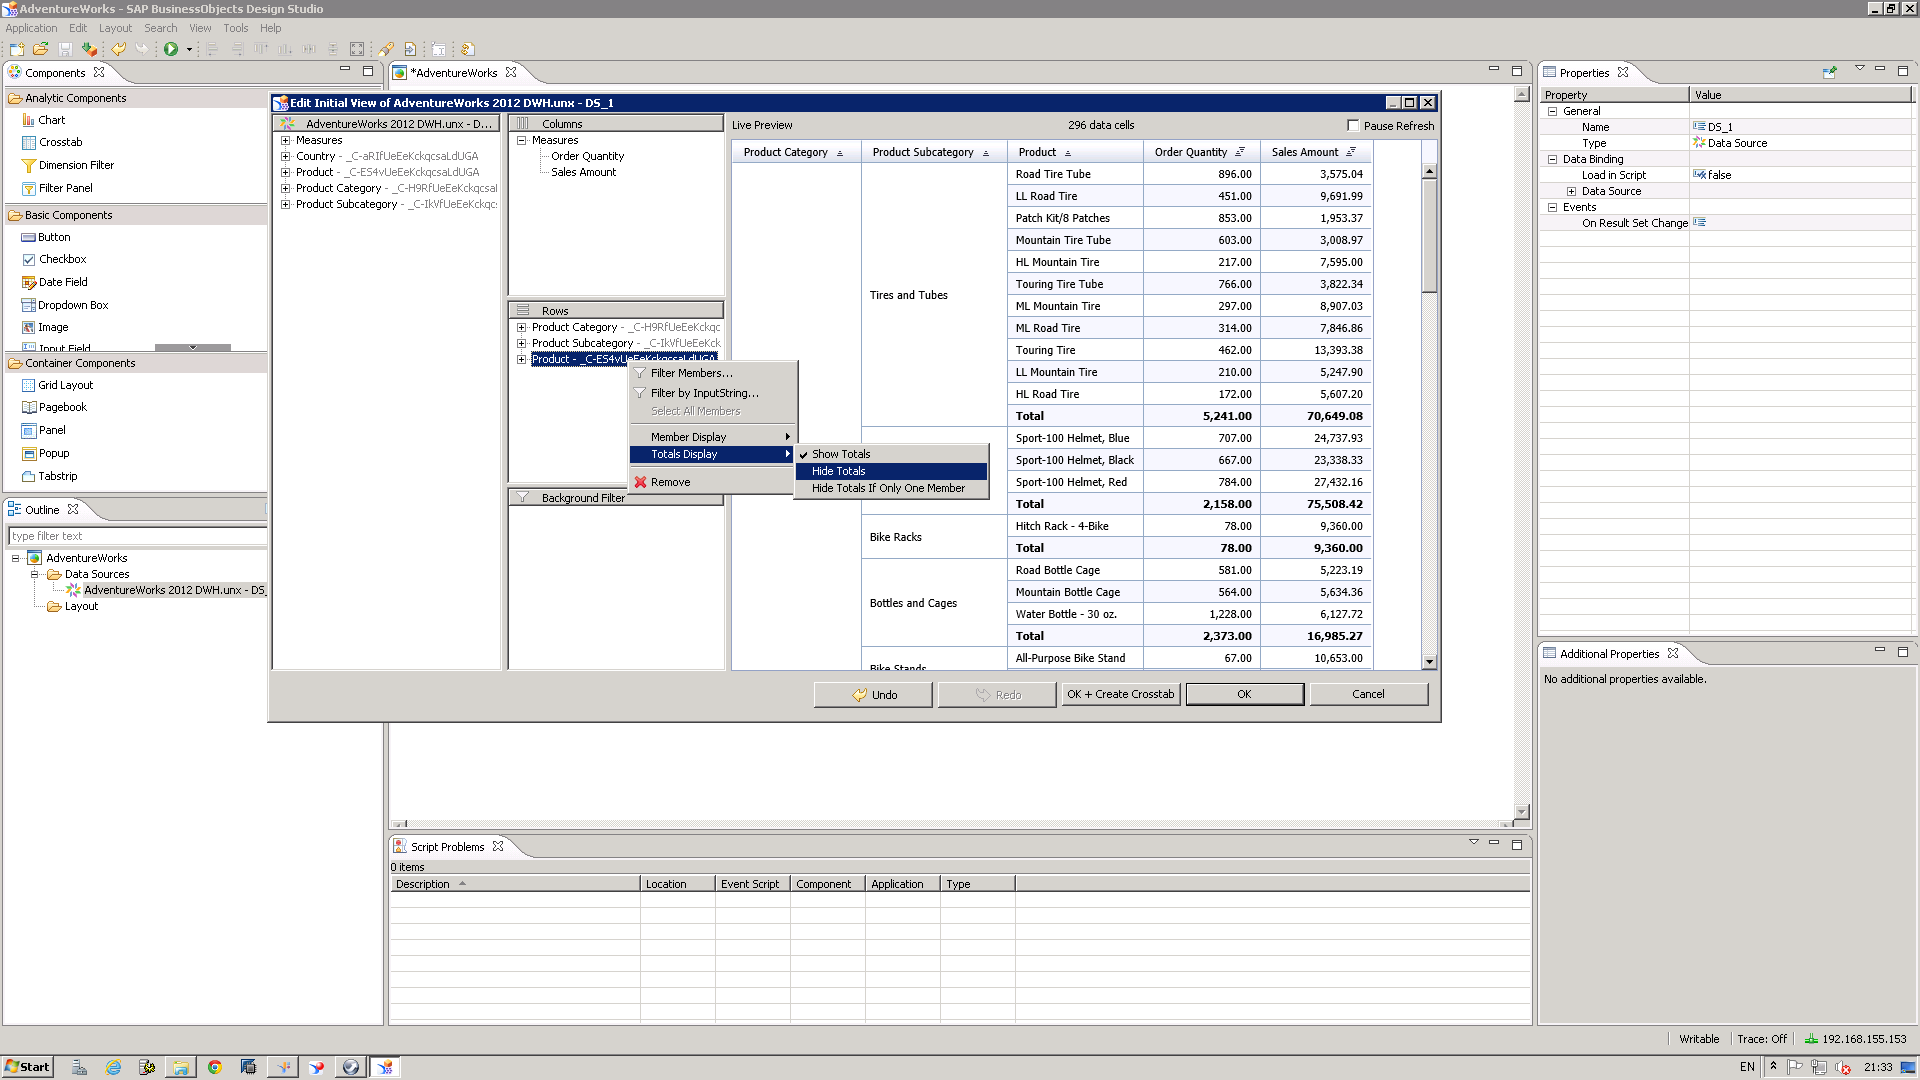
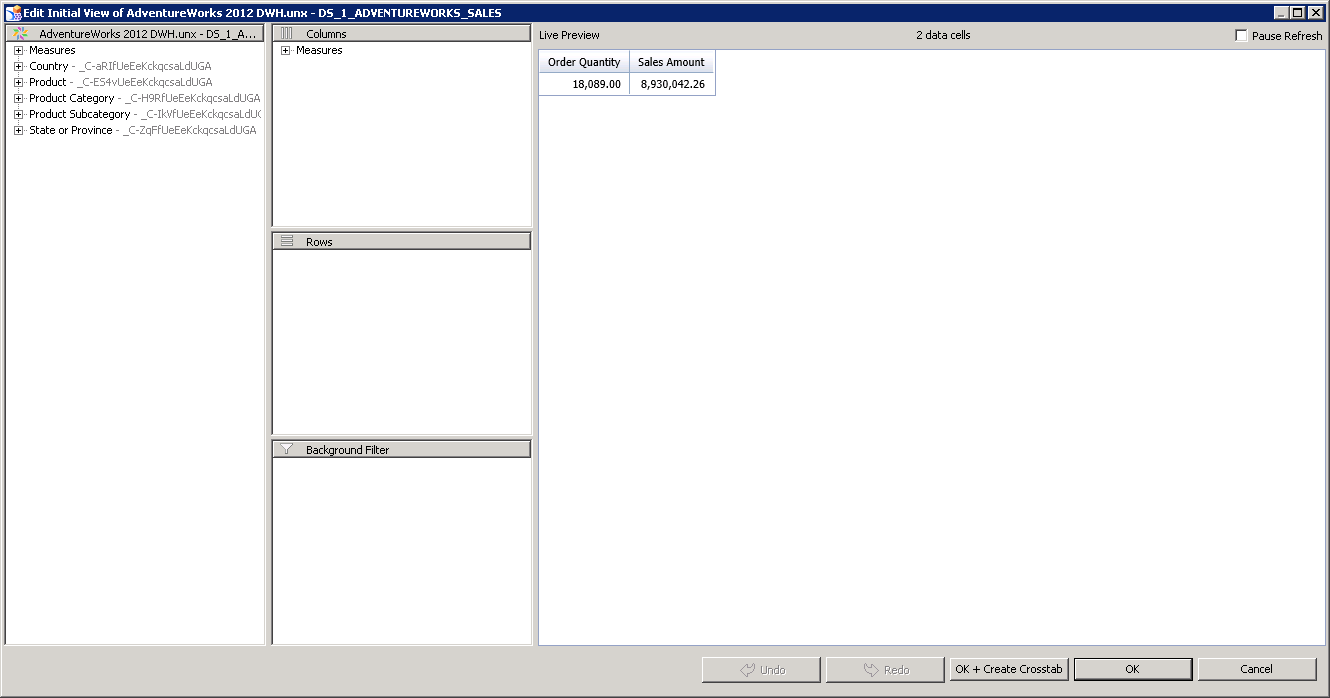
The universe query created before can be compared to a HANA or BW connection from this point on. So we’ll have to change the initial view to our final selection of dimensions and measures.
We arrive at the Initial View, as with other data sources. We select the necessary dimensions and measures from here and apply or remove the totals display.
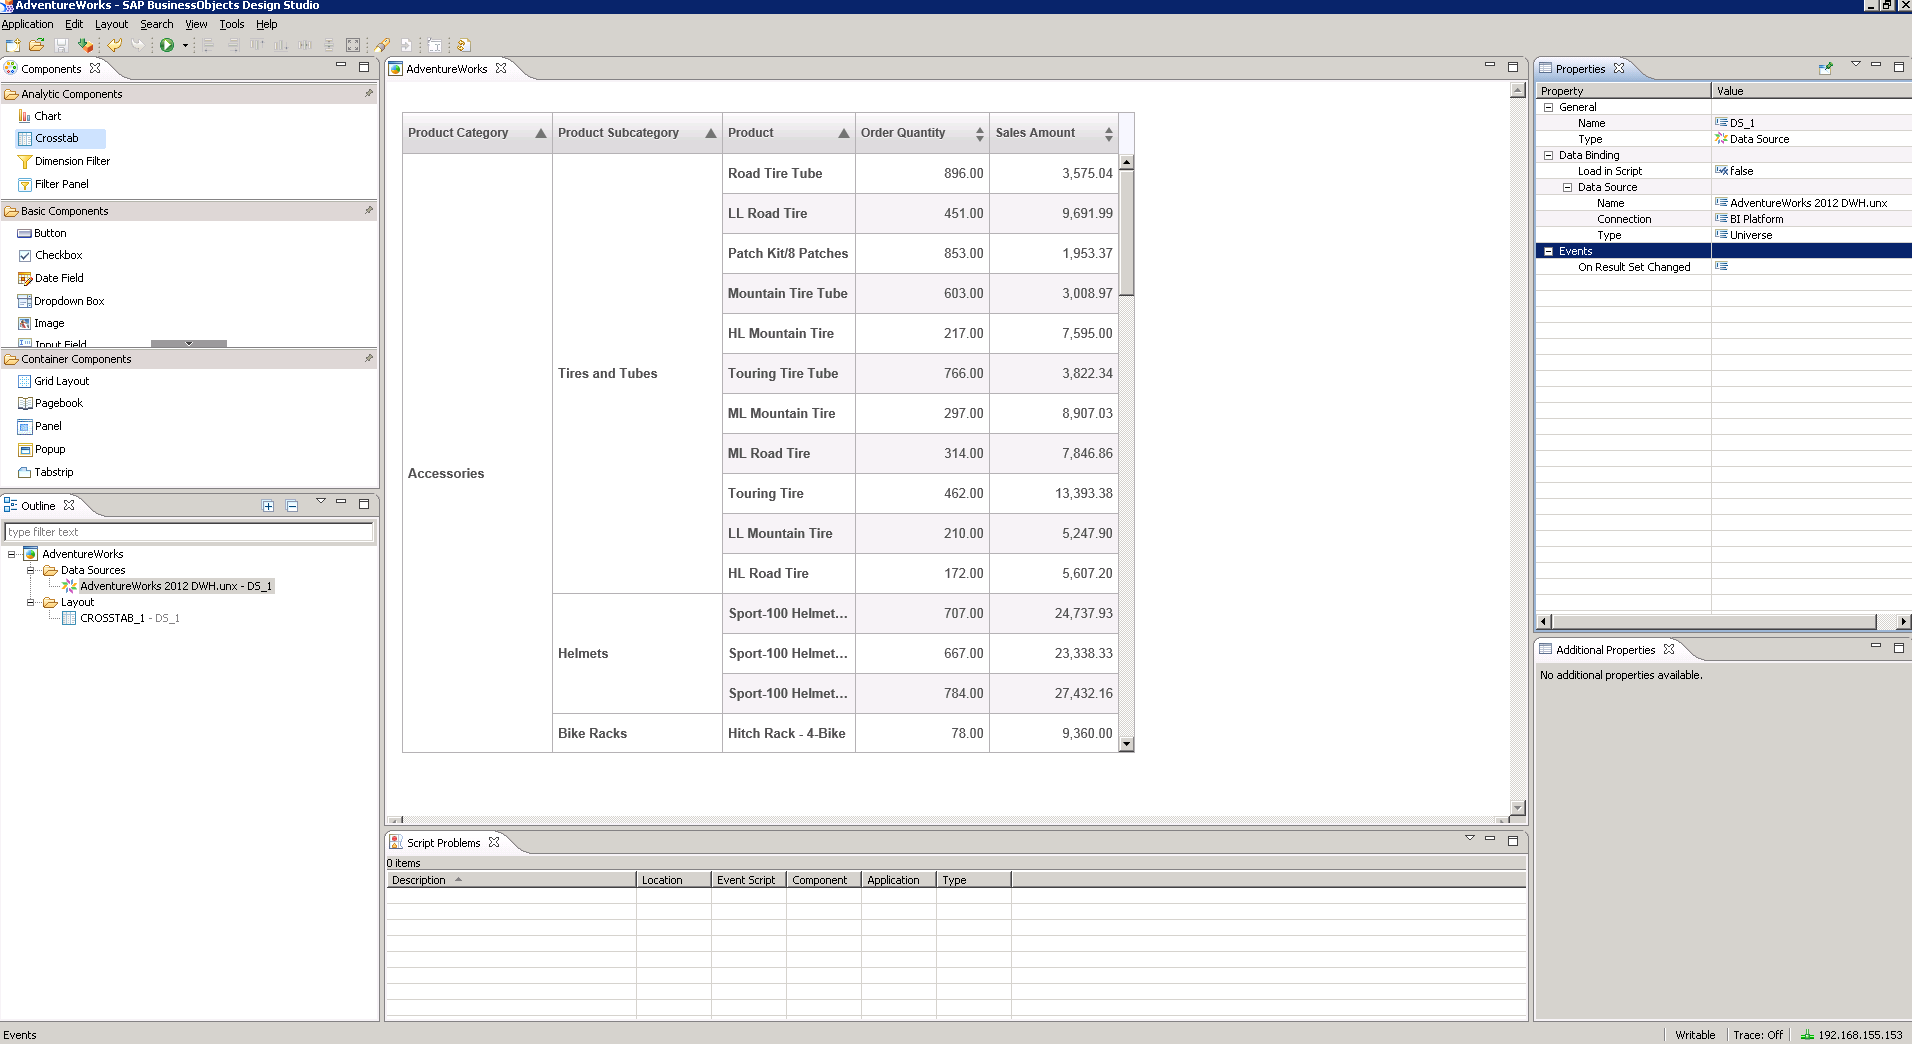
Now it’s ready to be shown on a crosstab.
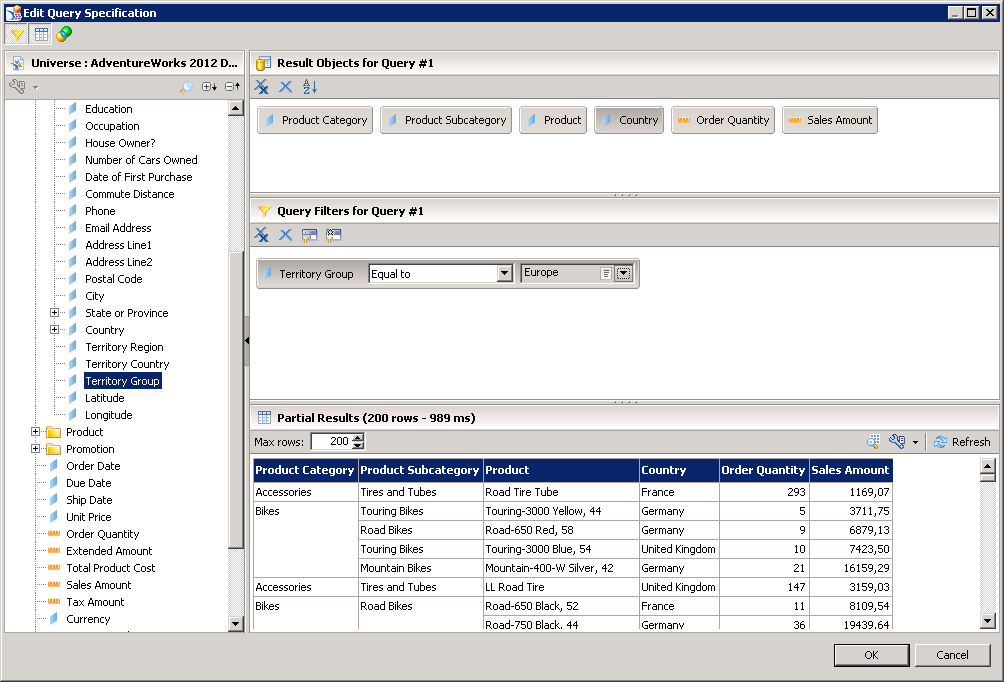
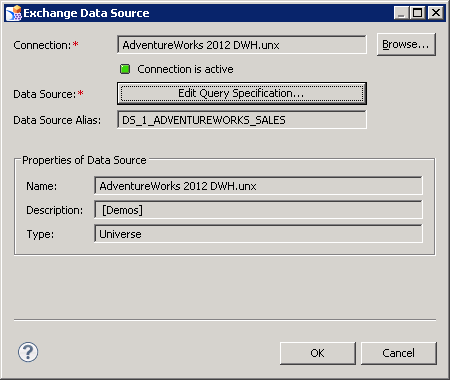
But what if we forgot one dimension? Let’s go back to the Data Source first. We do that with “Edit Query Specification”. It’s funny to see this window handling the universe as a connection.
We add a new dimension to the existing query.
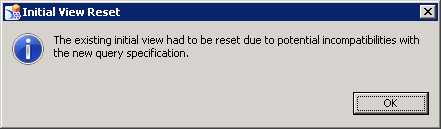
After clicking on OK, we get a warning that the Initial View is reset. The reason is that it could contain new objects or that existing objects have been removed, probably Design Studio can’t really track the changes. So easiest thing to do is to reset the Initial View.
Now we have to start all over again and rebuild the Initial View.
So, although it’s flexible that you can change the query, you better choose the right objects the very first time…

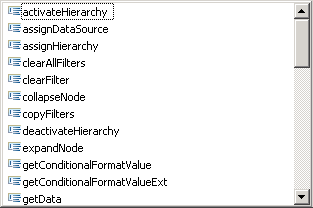
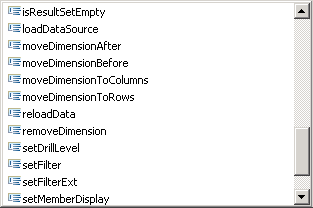
What scripting capabilities do universes have? Well, as the following screenshots show, it’s all similar to other data sources.


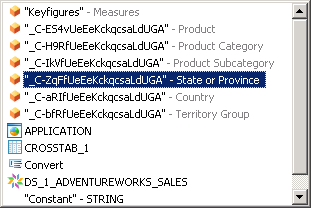
The objects from the query are recognised by unique identifiers. Doesn’t look very neat.
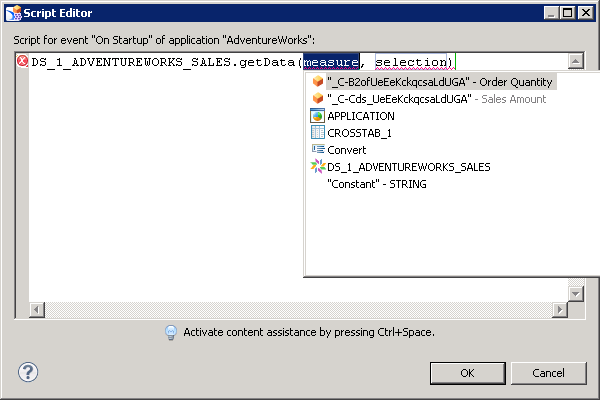
We can make use of other objects from the query, even the ones not selected for the initial view. This is an important one to remember. That would lead you to think that you better select all available dimensions and measures from the universe and use them as needed in scripting and initial views. The performance implications will be investigated in another article.

Conclusion: the addition of universes as a data source is a logical one from SAP perspective. However, it looks like as if the Design Studio team never accommodated it beforehand. Also, the power of multi-source universes has not been unleashed. Maybe it’s planned in the future though.